
How to create a Django Rest Framework boilerplate project
When you start learning Web Development or any kind of software technology is quite hard to remember exactly the step-by-step process of doing things even the simplest ones like the initial setup of your project. That’s why I’m doing this post about creating a project boilerplate guide so I or anyone interested can follow it along when you start a new project.
So, let’s get started…
In this case, I’m assuming that you already have python and pip installed on your computer.
Creating a virtual environment
First of all, we need to set up our virtual environment in order to install all of the dependencies inside of it instead of our local machine.
In your terminal we run the following command:
pip install virtualenv
Now we create a virtual environment:
virtualenv virtualenv_name
Keep in mind that virtualenv_name is where you have to put your virtual environment name
Then we run our just-created environment:
virtualenv_name\scripts\activate
It is important to use backslashes if you are using the windows command prompt rather than forward slashes to avoid any errors.
Once you do that you should see your terminal path with a ( virtualenv_name ) before and that means that your virtual environment is activated.
Installing dependencies
We can manually install Django and everything else one by one but I recommend creating a requirements.txt file with all the things I need to install on the get go and then I install any dependency as needed later.
Your requirements.txt file should looks something like this:
django==4.0.2
djangorestframework==3.13.1
django-cors-headers==3.11.0
I highly recommend doing a little research about the current version of your apps in order to avoid any issues in the future.
Creating a new Django project
Now is the time to create our Django project which is the base structure of our project.
In your terminal run the following command:
django-admin startproject project_name .
Keep in mind that there’s a dot at the end of the command that avoids creating a nested folder with everything inside so instead is creating the project on your current directory (you can actually put anything instead of the dot and that will create a new folder with all the project inside but I don’t do that because I called the root directory as the project name for convenience).
Once we do that we’ll end up with a project_name folder and a manage.py file which we’ll use to run our Django commands.
Creating our API app
App is the name used in django for every functionality within our project. In order to create our API app we need to run the following command:
django-admin startapp api
Register app in settings.py
Now we need to register our app so our Django project along with the rest_framework can communicate with it and we do that by going to our settings.py files within our project_name folder and we have to look for the INSTALLED_APPS list and add our apps below the last one like this:
INSTALLED_APPS = [
'django.contrib.admin',
'django.contrib.auth',
'django.contrib.contenttypes',
'django.contrib.sessions',
'django.contrib.messages',
'django.contrib.staticfiles',
'api.apps.ApiConfig',
‘rest_framework’
]
Creating your first view
The next step I follow is creating our first view which would be a generic one with a list of our routes, I use class-based views so it should look like this:
from rest_framework.views import APIView

from rest_framework.response import Response

# Create your views here.

class GetRoutes(APIView):
def get(self, request):

        routes = [
            {'GET':'/your_route/'},
            {'POST':'/your_route/'},

            {'GET':'/your_route/<id>/'},
            {'PUT':'/your_route/<id>/'},
            {'DELETE':'/your_route/<id>/'},
        ]

        return Response(routes)
Creating urls.py file
The next step is to create a urls.py file inside of our api app folder and add some basic structure:
from django.urls import path
from .views import GetRoutes


urlpatterns = [
    path('', GetRoutes.as_view())
]
Include api urls in project_name urls.py
We do this by add “include” from django.urls but since we are using this already to import our “path” we can just add it along with it by adding a comma next, then we add our api path:
from django.contrib import admin

from django.urls import path, include

urlpatterns = [
path('admin/', admin.site.urls),
path('api/', include('api.urls'))
]
Running our server for the first time
Now we are ready to give this a try but before we run our server we have to migrate our tables to our database first so we need to run the following command:
python manage.py migrate
Once it finishes we can run our server:
python manage.py runserver
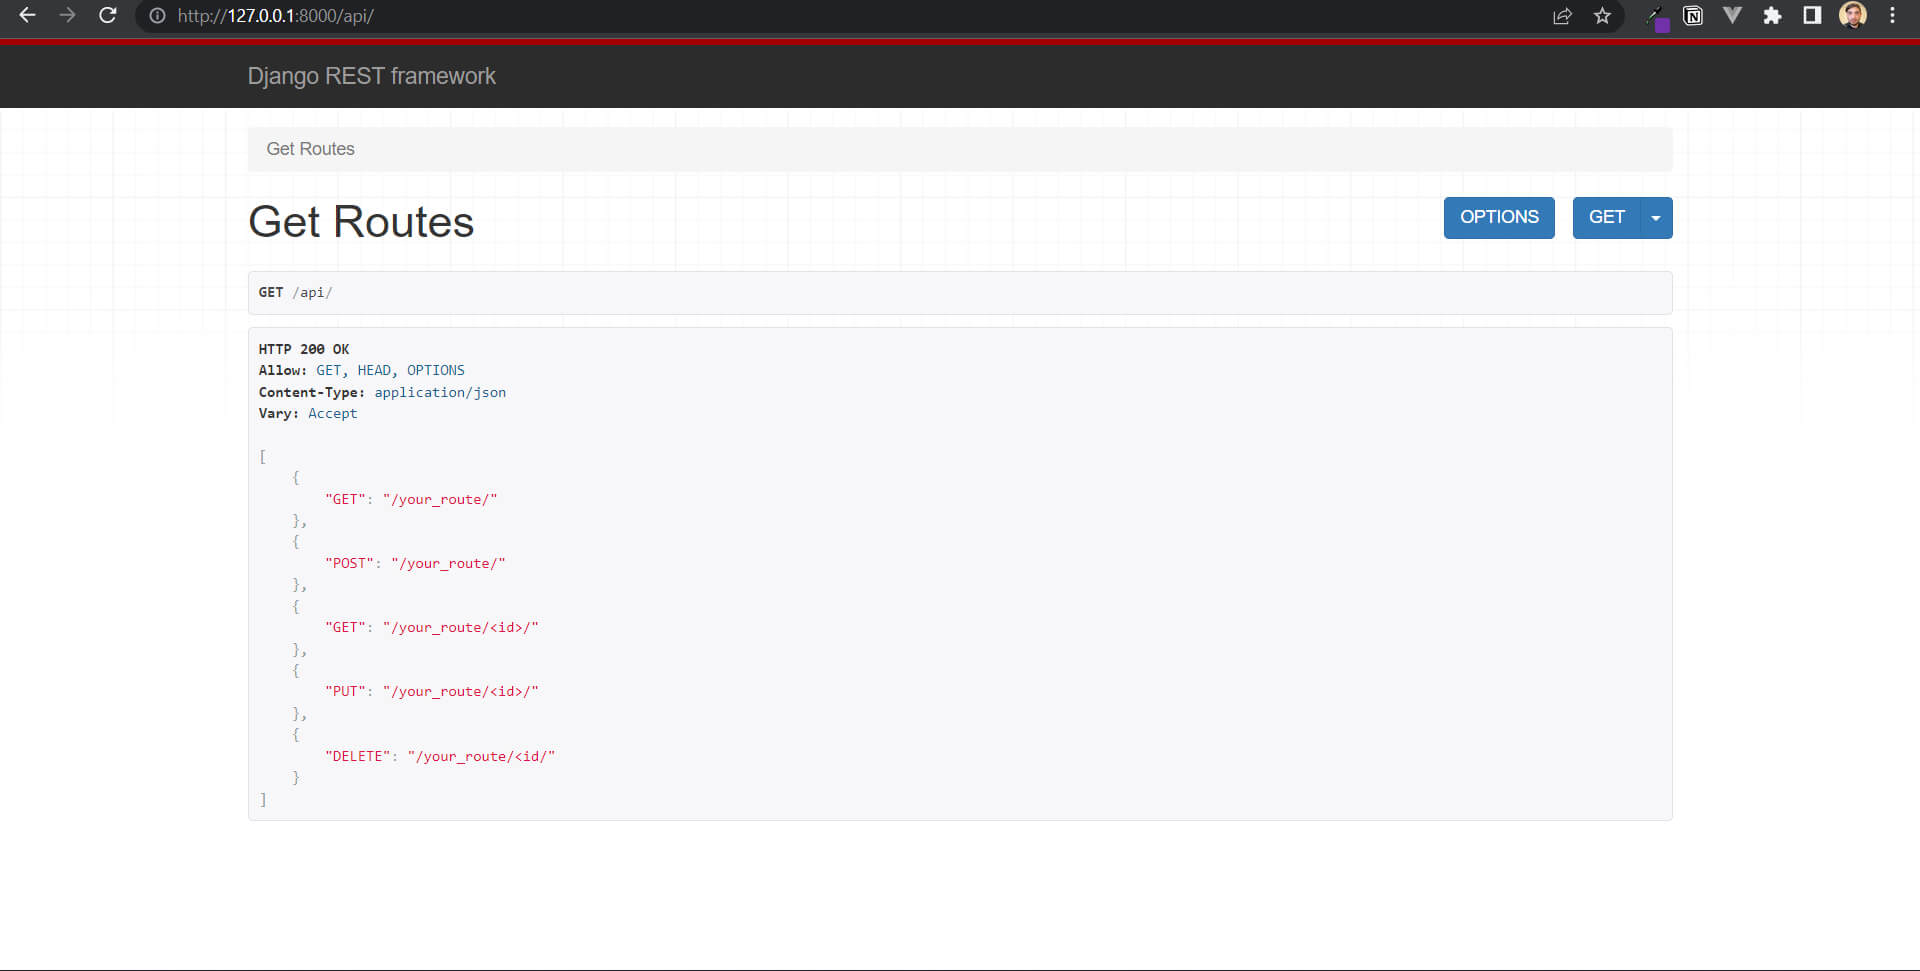
If everything went correct, we should be able to open our server in our browser or Postman with this link:
http://localhost:8000/api
We should see a screen like this one:
And that’s it, now you’re ready to add everything else to your project. I hope that helps you as it will for me every time I want to create a new full-stack project. Thanks for reading and have a good one :).
Related posts

How to setup user authentication with Django Rest Framework and JWT
A simple setup of authentication with a custom model using Django Rest Framework and JWT
#backend