How to setup Nuxt 3 with Tailwind CSS, Pinia and Supabase
If you have used Nuxt 2 with Tailwind CSS, Vuex, and Supabase in the past and you want to try the new Nuxt 3 along with the new state management library Pinia (Vuex 5) and Supabase with the new composable, stay here in order to learn how to set up your new project correctly.
Creating the Nuxt app
First up, we are going to open up our terminal to create our new Nuxt 3 project and for that, we are going to type the following commando:
npx nuxi init appname
You will obviously replace the appname with the name of your actual application.
Now, as the installation says, we need to open the application folder and then we are going to open vscode with the following commands:
cd appname
code .
Don’t forget the “.” because that means we are running the code editor in the current folder.
Once Vscode is opened and activated all your extensions, we need to install the dependencies of our application and for that we are going to use a package manager with one of the following commands:
# yarn (Recommended)
yarn install

# npm
npm install
Set up Tailwind CSS
Now that we have our application’s dependencies installed, we are going to set up Tailwind CSS and everything that it needs to run correctly.
Make sure to install Tailwind and the related dependencies as a developer dependency:
# yarn
yarn add --dev @nuxtjs/tailwindcss prettier prettier-plugin-tailwindcss

# npm
npm install -D @nuxtjs/tailwindcss prettier prettier-plugin-tailwindcss
Once it finishes, we need to run the following command in order to create our Tailwind config file:
npx tailwindcss init
We open the new file created named tailwind.config.js and add some configurations
Include all the directories where Tailwind is going to purge all the unused utility classes inside the content array:
// tailwind.config.js

/** @type {import('tailwindcss').Config} */
module.exports = {
  content: [
    './components/**/*.{js,vue,ts}',
    './layouts/**/*.vue',
    './pages/**/*.vue',
    './plugins/**/*.{js,ts}',
  ],

  theme: {
    extend: {},
  },
  plugins: [],
};
For some reason when I include the "./nuxt.config.{js,ts}" directory I got an error so I decided to get rid of it by now.
Now let's add some customizations to the current "container" utility class in the theme object in order to get better distributed the content on bigger screens:
// tailwind.config.js

/** @type {import('tailwindcss').Config} */
module.exports = {
  content: [
    // ...some code
  ],

  theme: {
    extend: {
      container: {
        center: true,
        screens: {
          lg: '1124px',
          xl: '1124px',
          '2xl': '1124px',
        },
      },
    },
  },

  plugins: [],
};
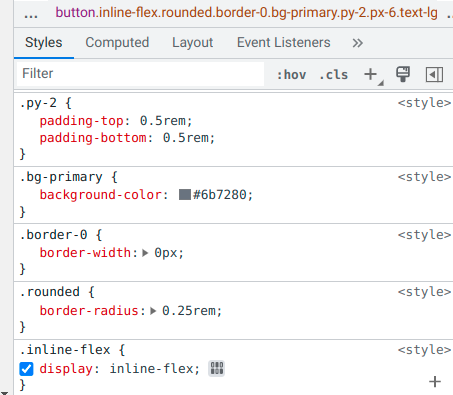
We continue by creating the corePlugins object in order to remove the opacity in some type of utility classes and get the Hex color instead of the Tailwind variable on DevTools:
// tailwind.config.js

/** @type {import('tailwindcss').Config} */
module.exports = {
  content: [
    // ...some code
  ],
  theme: {
    extend: {
      // ...some code
    },
  },

  corePlugins: {
    textOpacity: false,
    backgroundOpacity: false,
    borderOpacity: false,
    divideOpacity: false,
    placeholderOpacity: false,
    ringOpacity: false,
  },

  plugins: [],
};
Now, we move to the nuxt.config.ts file to add some configuration related to Tailwind CSS.
// nuxt.config.ts
import { defineNuxtConfig } from 'nuxt';

export default defineNuxtConfig({
  modules: ['@nuxtjs/tailwindcss'],
});
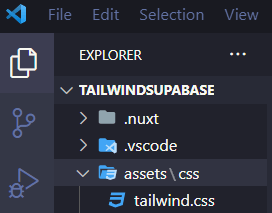
After that, we need to create the directory assets/css and create a new file named tailwind.css
Add the @tailwind directives to the tailwind.css file:
/* assets/css/tailwind.css */

@tailwind base;
@tailwind components;
@tailwind utilities;
Include the new directory in your nuxt.config.ts file:
// nuxt.config.ts

import { defineNuxtConfig } from 'nuxt';

export default defineNuxtConfig({
  css: ['@/assets/css/tailwind.css'],

  modules: ['@nuxtjs/tailwindcss'],
});
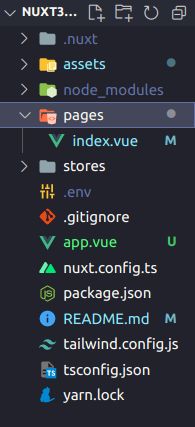
Open the app.vue file and change the component in the template for the <NuxtPage /> one and now, create a pages folder and an index.vue file inside:
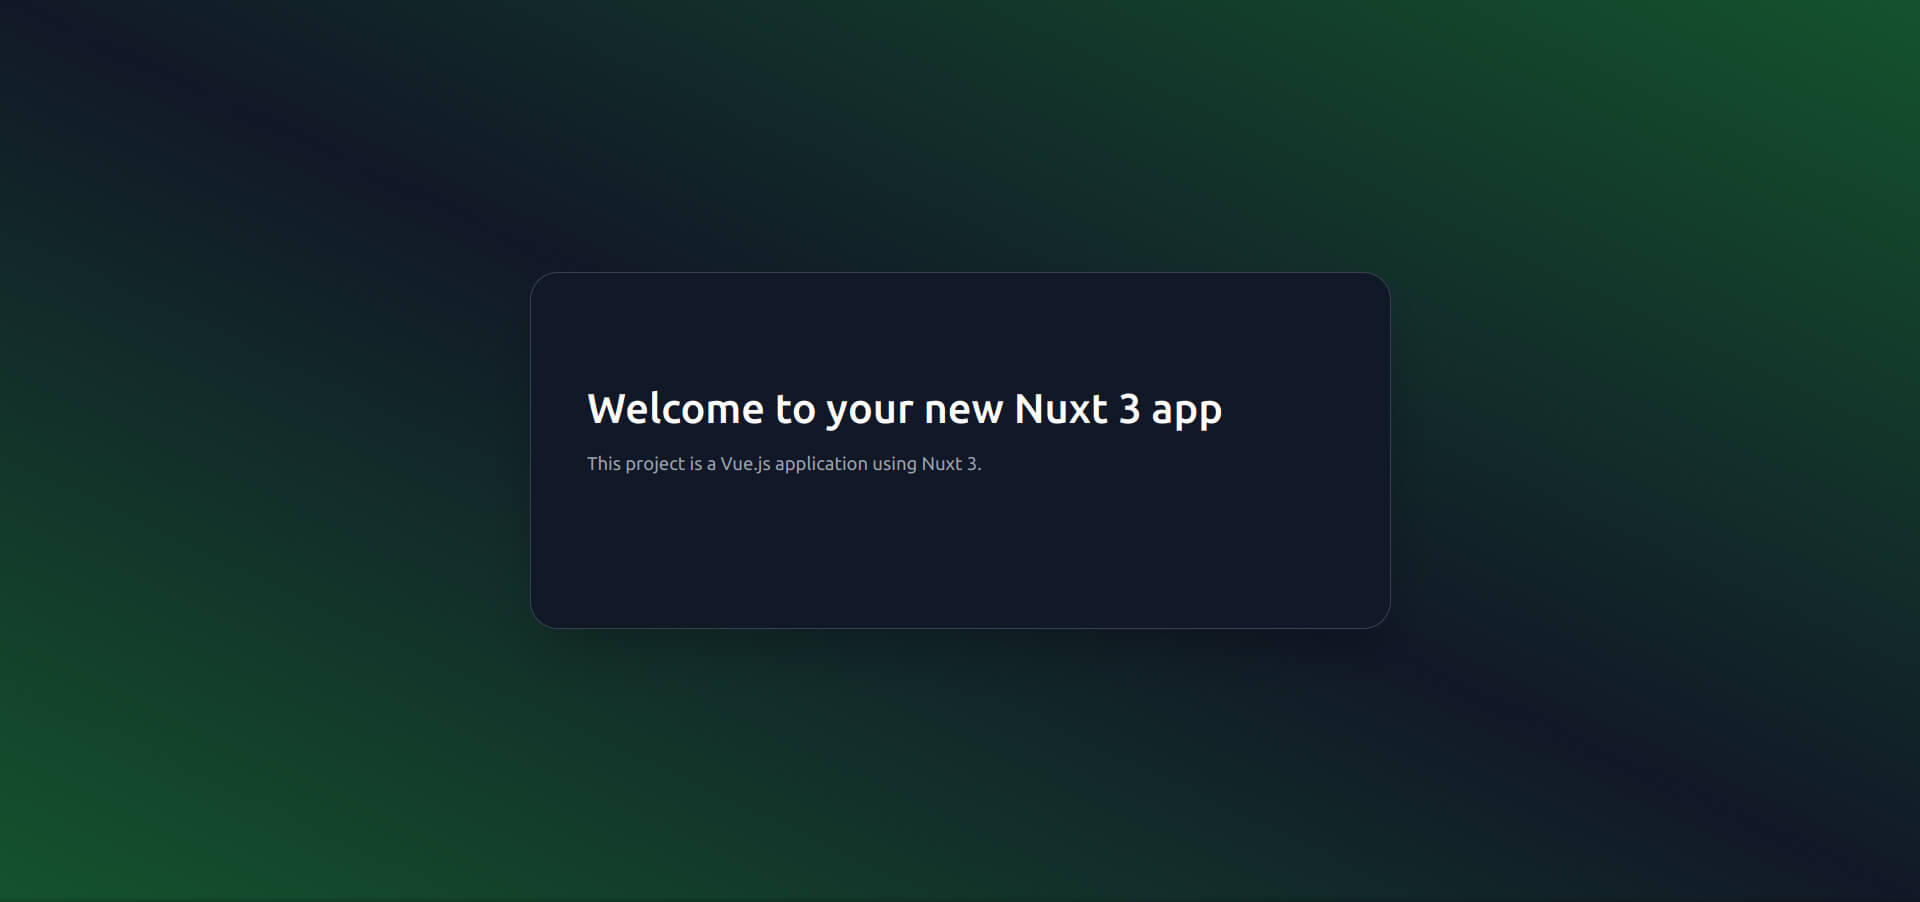
Let's add some content to our index.vue file with Tailwind CSS classes to try this out:
<!-- pages/index.vue -->
<template>
  <div
    class="grid h-screen place-items-center bg-gradient-to-tr from-green-900 via-gray-900 to-green-900"
  >
    <section class="rounded-3xl border border-gray-700 bg-gray-900 text-gray-400 shadow-2xl">
      <div class="container mx-auto flex flex-col items-center px-12 py-24 md:flex-row">
        <div
          class="mb-16 flex flex-col items-center text-center md:mb-0 md:w-1/2 md:items-start md:pr-16 md:text-left lg:flex-grow lg:pr-24"
        >
          <h1 class="title-font mb-4 text-3xl font-medium text-white sm:text-4xl">
            Welcome to your new Nuxt 3 app
          </h1>
          <p class="mb-8 leading-relaxed">This project is a Vue.js application using Nuxt 3.</p>
        </div>
      </div>
    </section>
  </div>
</template>
Set up Pinia
Pinia is a state management library that according to Evan You is technically Vuex 5.
To setup pinia we need to install a couple of dependencies:
# yarn
yarn add pinia @pinia/nuxt

# npm
npm install --legacy-peer-deps pinia @pinia/nuxt
Include @pinia/nuxt in the modules array in your nuxt.config.ts file:
// nuxt.config.ts

import { defineNuxtConfig } from 'nuxt';

export default defineNuxtConfig({
  css: [
    // ...some code
  ],

  modules: ['@nuxtjs/tailwindcss', '@pinia/nuxt'],
});
We need to create a stores directory and a .ts file called however you like for your store in this time I'm calling it main.ts:
In main.ts create a new store by importing { defineStore } from pinia:
// stores/main.ts

import { defineStore } from 'pinia';
We create a store by declaring a variable that will be exported using "use" before the name of the store for convention purposes and this will be equal to the imported defineStore who receives two parameters: a string with the name of the store (to avoid duplicated stores) and an object:
// stores/main.ts

import { defineStore } from 'pinia';

export const useMainStore = defineStore('main', {});
Inside the object we can setup our state, actions, and getters for an Options store:
// stores/main.ts

import { defineStore } from 'pinia';

export const useStore = defineStore('main', {
  state: () => ({}),
  actions: {},
  getters: {},
});
Also, you can create a Setup store and use the Composition API-like syntax by changing the second parameter for a call back arrow function and returning all the state and methods like this:
// stores/main.ts

import { defineStore } from 'pinia';

export const useStore = defineStore('main', () => {
  // Some code

  return {};
});
Set up Supabase
Setting up Supabase is really easy. First, we need to install the Supabase module for Nuxt:
# yarn
yarn add --dev @nuxtjs/supabase

# npm
npm install @nuxtjs/supabase --save-dev
Include @nuxtjs/supabase to the modules array in nuxt.config.ts file:
// nuxt.config.ts

import { defineNuxtConfig } from 'nuxt';

export default defineNuxtConfig({
  css: [
    // ...some code
  ],

  modules: ['@nuxtjs/tailwindcss', '@pinia/nuxt', '@nuxtjs/supabase'],
});
And lastly, we create an .env file with your SUPABASE_URL and your SUPABASE_KEY:
SUPABASE_URL = 'https://example.supabase.com';
SUPABASE_KEY = '<your_key>';
Development Server
You can try this out by starting the development server on http://localhost:3000
# yarn (Recommended)
yarn dev

# npm
npm run dev
And that’s it, we are now ready to create a new awesome web application using Nuxt 3, Tailwind CSS, Pinia, and Supabase. Stay tuned for more content when we will use this setup to create a basic demo application.
Source
Look at the nuxt 3 documentation to learn more.
Look at the Tailwind documentation to learn more.
Look at the Pinia documentation to learn more.
Look at the Supabase documentation to learn more.
Look at the @nuxtjs/supabase module documentation to learn more.
Related posts
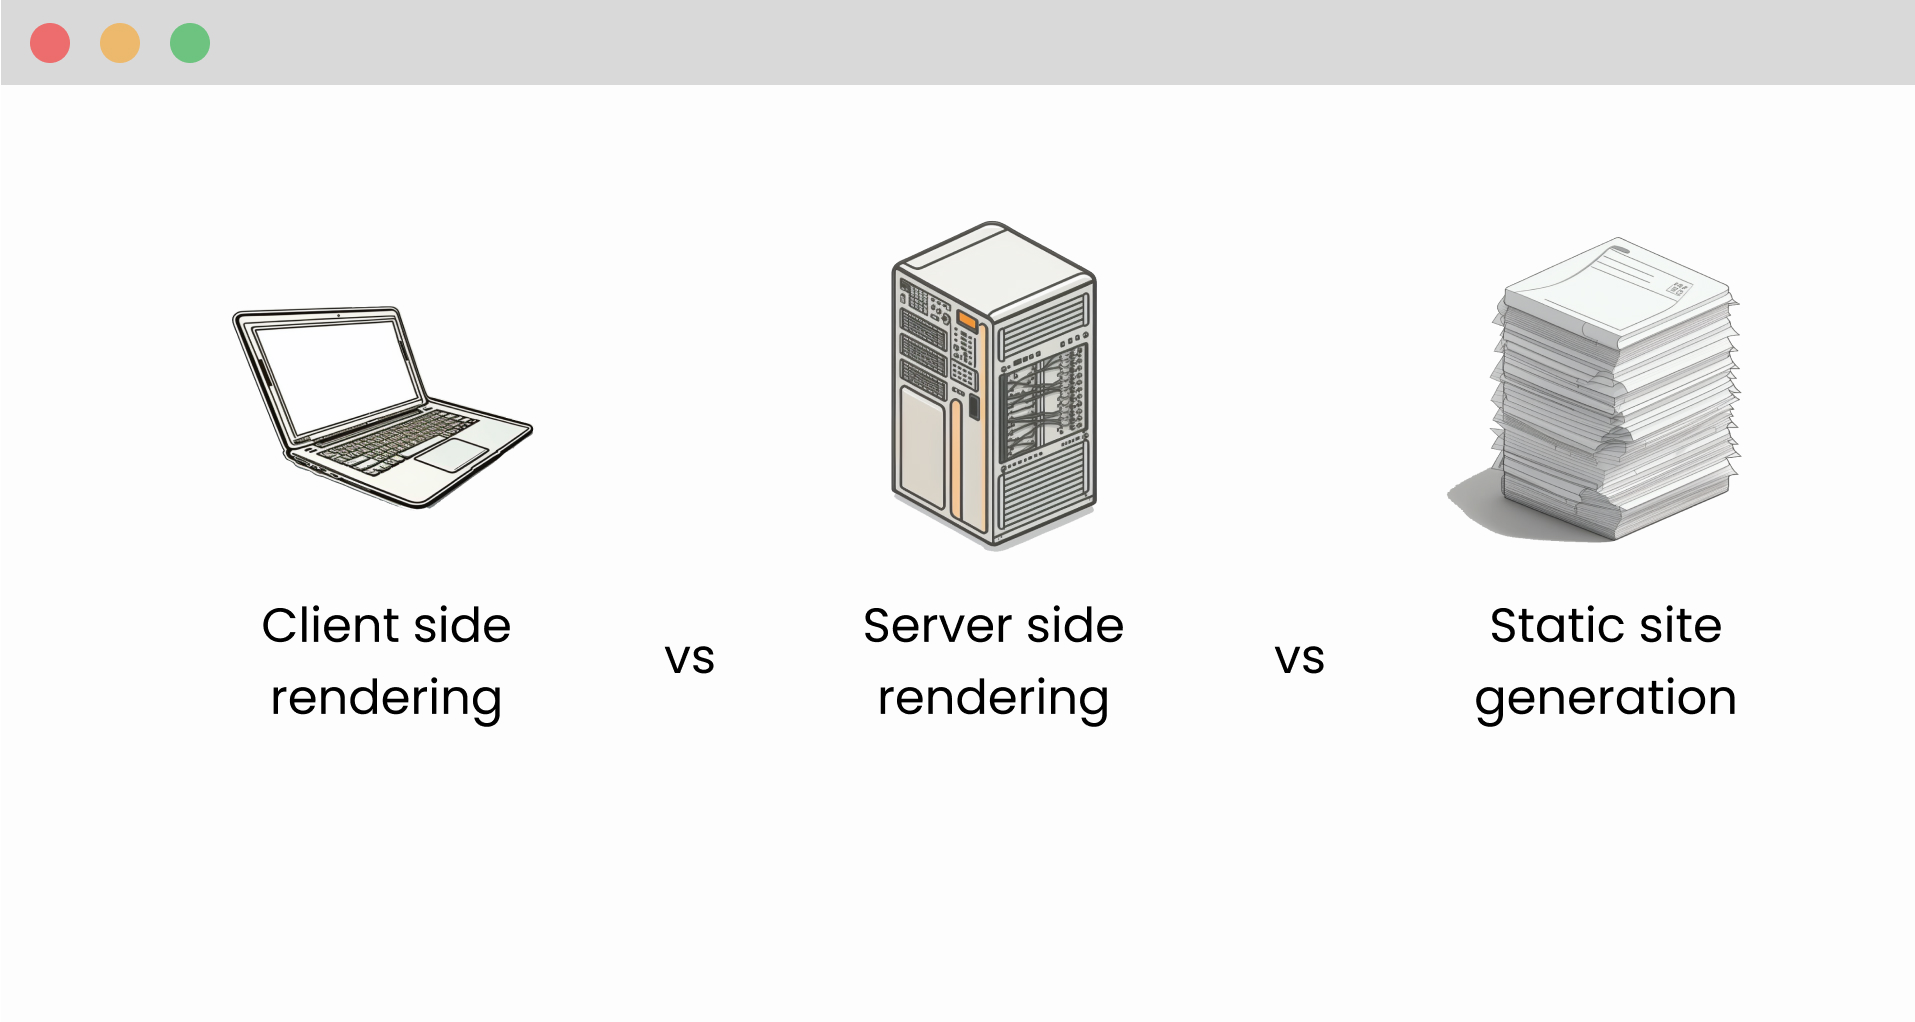
What are the differences between client side rendering, server side rendering and static site generation
Unsure which method of rendering is best for your website? Read this blog post on the differences between client-side rendering, server-side rendering, and static site generation to make an informed decision.
#frontend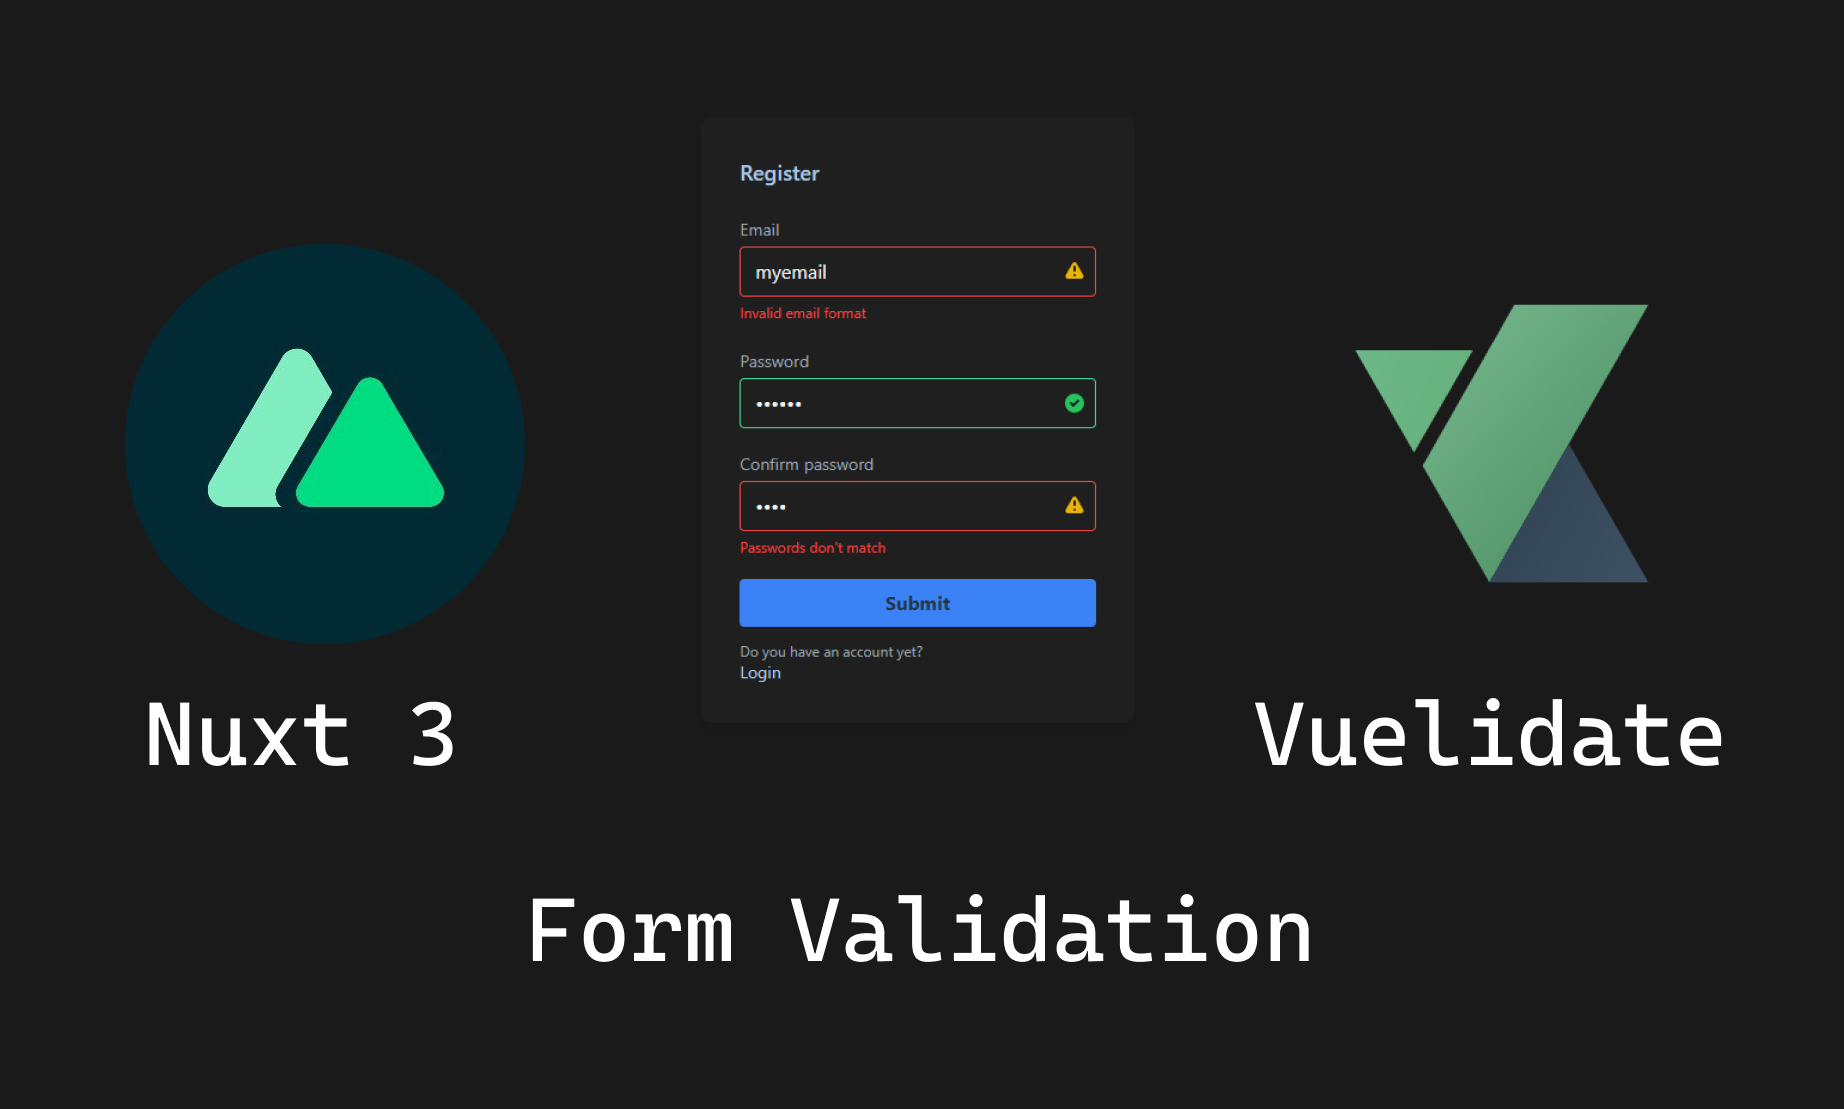
How to add form validation to your Nuxt 3 application
When it comes to form validation I think it is better if we handle it on our own with custom validations and error messages. In this post, we will see how to create custom form validations with vuelidate an open source library create for this.
#frontend
How to setup user authentication with Nuxt 3, Supabase and Tailwind CSS
Add authentication to your Nuxt 3 application easyly with Supabase and restrict access to logged in users only
#frontend